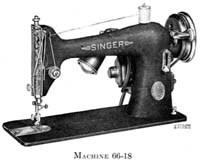
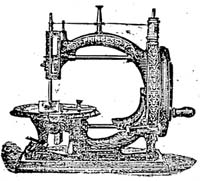
Using Your Attachments: The Underbraider
In the last issue of ISMACS news we began a feature on using the attachments that came with our sewing machines. In that article, we learned all about using the ruffler. This time, we will learn about the underbraider and make another 6 ½" block for our future quilt. The underbraider requires a special foot and slide plate. The shapes of these plates vary with the type of sewing machine.
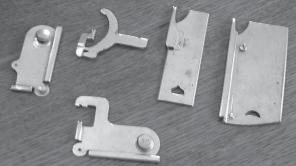
Left to right:
Singer 15 – attaches into the screw hole to the right of the slide plate (like seam guide).
Singer 127 – shown in a 1915 manual for Singer 127. It hooks around the top of the slide plate and you
replace the presser foot with the quilter foot.
New Williams style slide plate – the New Williams has 'braider' stamped in the plate.
Fiddle base machine slide plate underbraider – not sure which sewing machine this fits.
Bottom – the Singer 27 underbraider attachment that is in the puzzle box; it also screws on like the 15's
above.
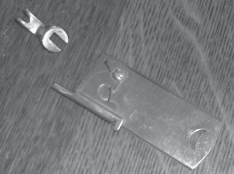
This is the slide plate that I used with the New Raymond High Arm Family sewing machine.
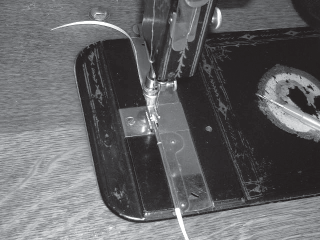
Replace the presser foot and slide plate with the underbraider or quilting foot and the underbraider slide plate. Trim braid or ribbon on a 45 degree angle to make it easier to feed the braid into the narrow tunnel. Slide braid through the tunnel until it appears on the top (sometimes it's easier to guide the braid into the tunnel on the back of the plate and then slide it in place – a pin or stitch ripper helps with this as well). Make sure that the braid slides easily once the slide plate is replaced.
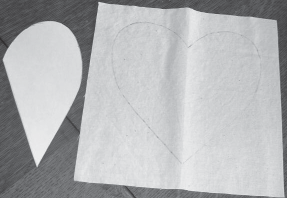
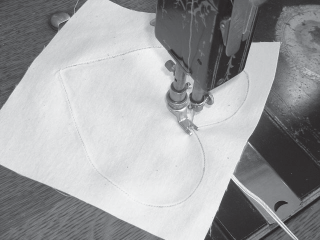
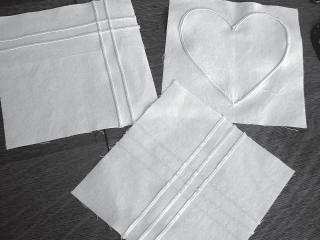
Cut out a 6 ½" square from muslin and draw a design on the back of the square with pencil. Keep in mind that it will turn out the mirror image of the drawing on the back. I did a heart and two blocks with straight lines crisscrossed on the square. For the heart, I started at the top center. Sew on the drawn line and the braid will be sewn exactly in the center of the braid around the design. Keep an eye on the braid as you are sewing to make sure it is feeding through and that it is still in the tunnel. When you come to the end of the heart, pull out the work and trim the edges neatly.
You can cover up the raw edges by sewing a button or a tiny ribbon in place. You can also use very narrow satin ribbon, yarn and other things as long as they are not too wide. The satin ribbon I used did fold over at the center of the middle row.
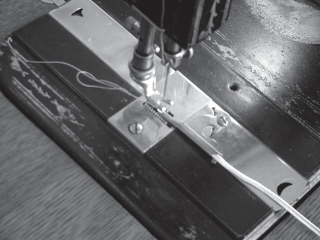
The Raymond machines came with two different kinds of underbraider plates, a long one and a shorter one. I did find that the plate with the longer slot seemed to work better, especially on the satin ribbon.
Enjoy! Again, if you make any blocks with these attachments, I'd love to see pictures. If you would like to send some photos of your blocks, please send to my high speed email address, jvanmep@execulink.com .
We thought you might like to compare the attachment Jacqui used with one found on a British machine and show the instruction page from a Jones CS manual for operating the under braider:
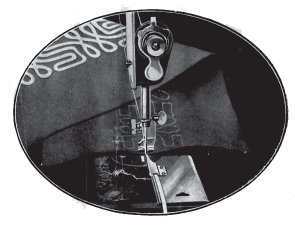
Take off the ordinary foot and substitute the braider foot. Slip the small hook portion of the under braider down the oil hole in the needle plate and further secure it by the slide which can be passed over the projection on the left hand side of the under braider. For straight braiding it is best to use a long stitch, but for braiding with sharp corners and small curves a short stitch will work to better advantage. The design should be stamped on the underside of the material to be braided.
