Grover tune-up
by Graham Forsdyke
ISMACS News
Issue 31
FOR THOSE of our membership who insist that the machines in their collections sew -- and there are an increasing number of them -- we publish here a short piece written by an expert as an aid to the trade in 1890s.
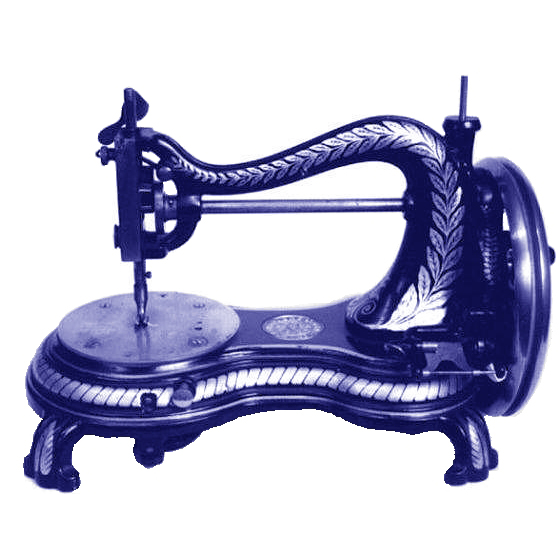
It deals with the repair and adjustment of Grover & Baker machines which, by that time, were getting a little long in the needle.
Mr W Funk writes in the USSM News:
For two months past I have received many communications asking for information in regard to the Grover & Baker sewing machine.
Some ask me to go into details -- how to time, what parts need replacing, etc; so I have concluded to give the original article, which will answer the questions asked by some of the readers of the News since the article was published, and I think this will cover the ground.
From everyday experience in sewing-machine repairing, I find that all old machines to be put in first-class order should be taken down and cleaned before attempting any repairs, bushing or adjusting. When a sewing machine is taken apart and cleaned you will see at a glance what is needed, and the parts can be handled so much better than when they are covered with grease and gum.
Why is it that some repairers fail to give satisfaction on the old, worn sewing machine? The answer is this: they look, they try this and that, move one of the parts, experiment for hours trying everything, in the end leaving the machine in the same condition as it was when brought to them.
The point of difficulty is simply this -- they do not fully comprehend its principles, and they expect by trying this and that something they do may accidentally hit just the thing and right the cause of the trouble. In such cases, I repeat, take down the machine, clean it, take up the lost motion, and put the machine together properly, and you will find it will do the work as it should be done.
Of course, it is not expected of the repairer to take all machines for slight repairs.
The wearing parts of the Grover & Baker are few, and easily taken up.
The trunnel, spiral driver, bolster, nippers, and bunter generally give way after 10 or more years. If the spiral driver is much worn, take the temper out, close it in a vice, and then dress out to suit the spiral post.
The next most important part is the bolster, when worn to one side, causing the circular needle to work irregularly. It is best to put in a new bolster, but if you have none on hand put it in a lathe, turn it down to a centre, fitting it to the upper of the post.
The burr which forms on the spiral post should be dressed off with emery cloth. The next point is the nippers. The nippers and the spiral spring do the same office as the take-up in other sewing machines. It is important for them to open and close freely and at the right time. The nippers are arranged so as to give a tight and slack thread at proper times.
Set the curved needle by the gauge, the circular needle by the curved. If the bunter is much worn make a new one out of a soft piece of cast iron.
The object of the nippers and guide in the Grover & Baker is to hold the loop until the circular needle has passed into the loop. The guide should open the nipper springs about the thickness of No. 8 cotton. The guide post should lean a little and be far enough in to guide the thread in behind the lip on the nipper. In adjusting the arm use a No. 3 needle.
First set the needle with the gauge, then turn the wheel slowly, see that the eye of the curved needle meets the eye of the circular when the arm is making its upward movement, the circular needle to be raised or lowered to suit the curved.
The nippers must close just as the circular needle moves on its way to catch the loop.
In setting the arm of the Grover & Baker use a No. 3 needle; have the needle to almost strike the circular needle. Set the curved needle first and regulate the circular needle by it, as to position, up and down.
